
HTML5Point — the world's first PowerPoint to HTML5 converter — turns your PowerPoint presentation into interactive HTML5 content viewable on iPads, iPhones, other mobile devices and every modern browser, in a single click.
After downloading HTML5Point, follow these steps to start converting PowerPoint presentations to HTML5. Install the software first by double-clicking the .exe file and following the instructions. After installing, you'll find the HTML5Point icon on the desktop.
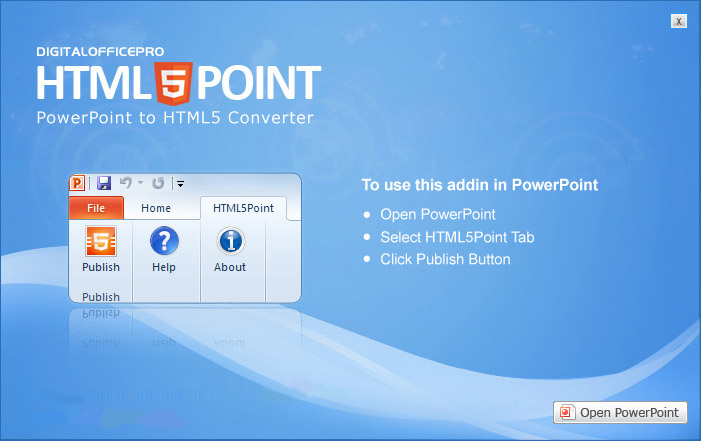
To start the program, double-click the desktop icon or go to Start > All Programs > DigitalOfficePro > HTML5Point. The main HTML5Point dialog will appear.
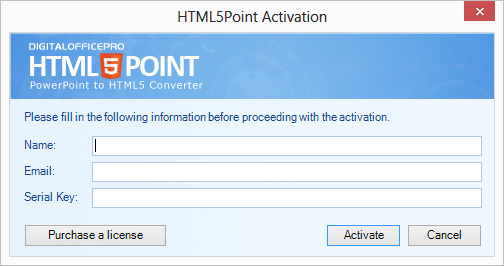
Activate the product before you start using a paid version. After purchase you'll receive a License Key — use it to activate. To use the software on another machine, deactivate the license from the current PC first, then activate on the new one.
Open the PowerPoint presentation you want to convert (File → Open, or double-click the file). On PowerPoint 2010+ you'll see the HTML5Point tab on the Ribbon; on XP/2003 you'll see toolbar buttons.
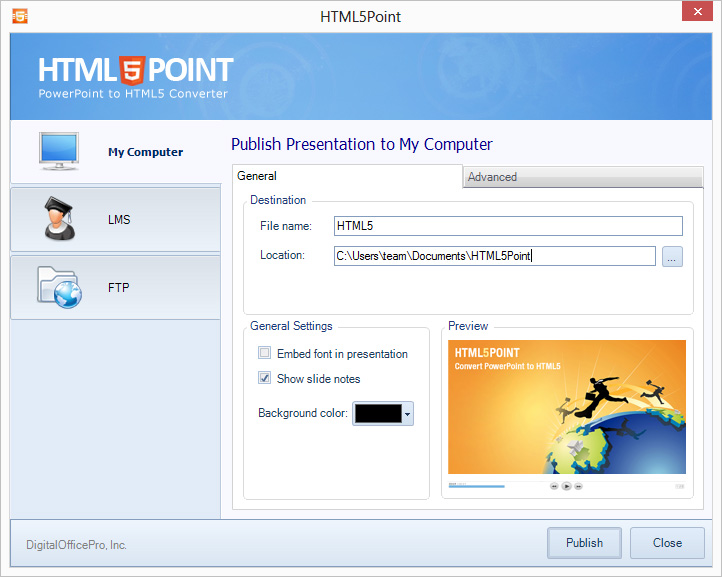
Specify whether to embed the fonts used in the presentation while converting.
Pick your desired color and set it as the background of the converted presentation.
Set the output image quality. Defaults to maximum quality.
View the live preview of your presentation right inside the app.
After completion of the publishing the presentation, a preview window will be opened, where you can view the converted presentation output. There are four types of output preview options available.
With this option, you can see how the output works in Apple iPad's.
iPhone preview option helps you to see how the converted output works in Apple iPhone's.
Using this option user can view how the output works in Android devices.
With this option, the user can see how the converted HTML5 output works in web browsers.
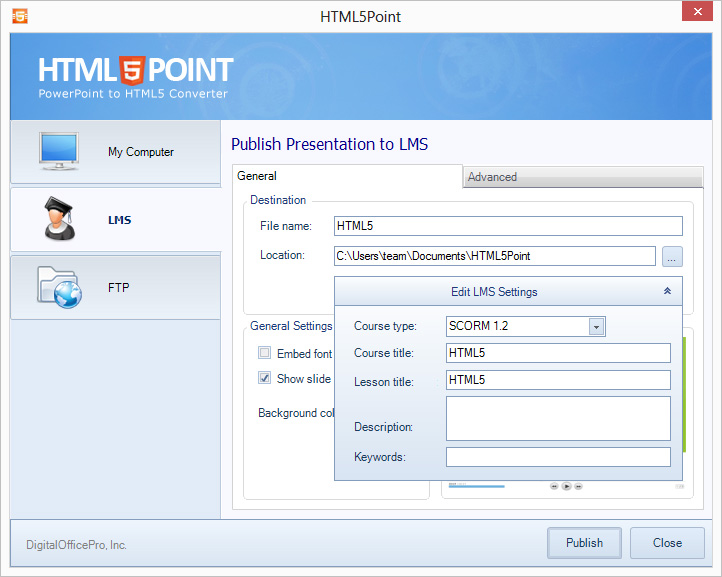
HTML5Point lets you create LMS-compatible HTML5 output.
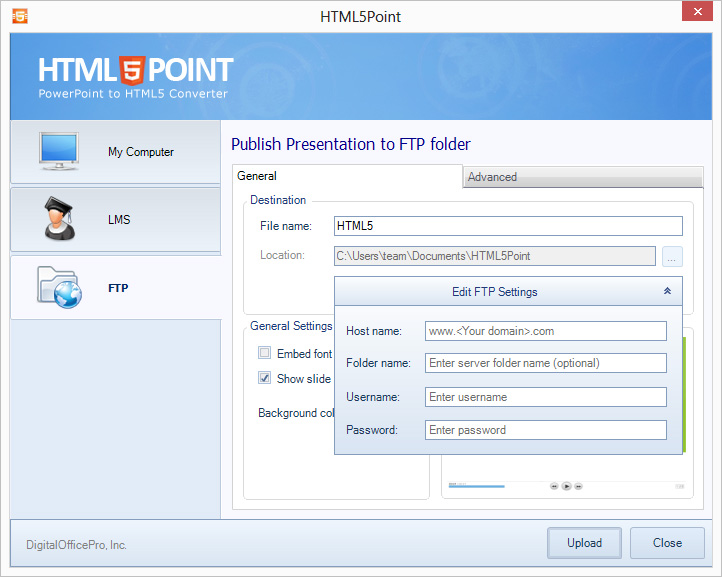
HTML5Point can also upload the converted HTML5 presentation directly to a web server via FTP.
Download the free trial or buy a license to unlock unlimited conversions.
Download free →